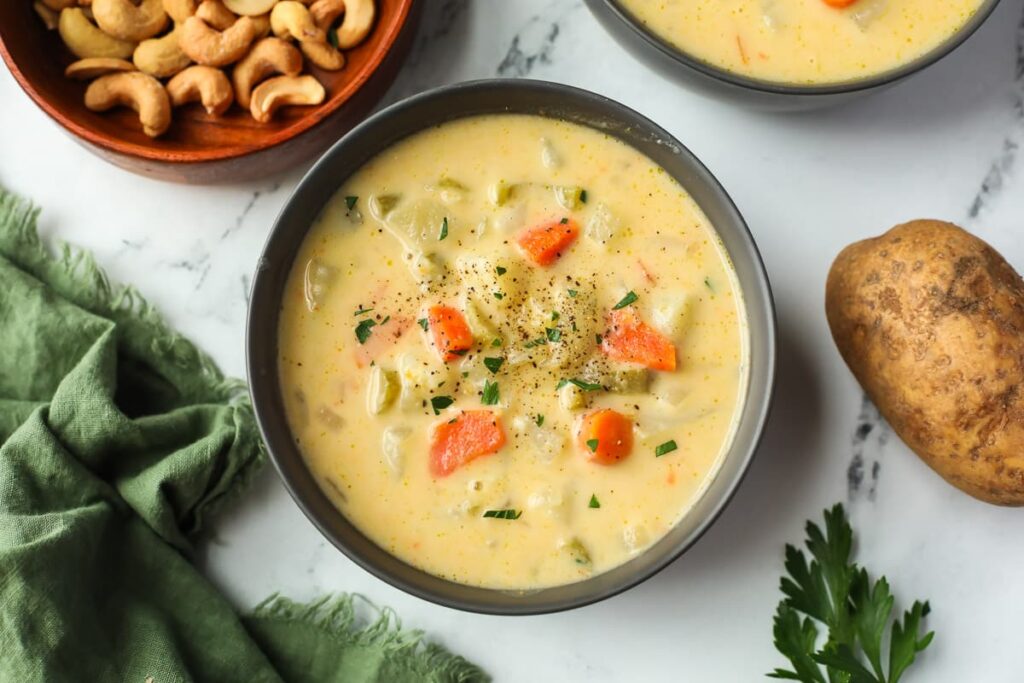
There is nothing better on cold days than a hot bowl of soup – this creamy potato soup is perfect for those days! Its full of flavor, filling and super simple to make in your Instant Pot too!
This soup is perfect to make in Winter, or any cold day when you feel you need a hearty meal to warm you up!
If you are looking for another recipe perfect for colder days, take a look at our vegan chili recipe. For another super simple 30 minute dinner recipe, try our vegan chickpea curry recipe – super flavorful and tasty!
Ingredients
For this recipe you will need:
- 3 tablespoon olive oil
- 1 ½ cups white onion finely diced (roughly 2 medium onions)
- 2 ribs celery finely diced
- 3 large carrots finely diced
- 5 cloves garlic minced
- 3 teaspoon sea salt
- 1 teaspoon freshly ground black pepper
- 2 teaspoon dried sage
- 1 teaspoon dried or fresh thyme
- 4 tablespoon all-purpose flour
- 2 cups unsweetened soy milk
- 2 ½ cups vegetable broth
- 6 medium potatoes (800 g or 28 oz.) cut into small cubes
- 1 bay leaf
Instructions
Press the sauté function on your Instant Pot and allow to heat for a minute or two. Add the olive oil and allow to heat before adding the onions, celery and carrots. Mix and sauté until the vegetables are tender, about 5 minutes. Add the garlic and sauté for another minute.
Add salt, pepper, sage, thyme and flour and mix well for 1 minute until fragrant. While mixing, pour in the soy milk and the vegetable broth. Mix well to avoid any lumps. Add the potatoes and bay leaf and stir well.
Close the Instant Pot and cook on high pressure for 15 minutes until potatoes are soft and tender. Quick release the pressure and mix the soup. Use an immersion blender to blend the soup to your desired consistency. You can leave some potato chunks in the soup or blend until completely smooth. Taste and adjust the flavours the soup, adding more salt and pepper if needed.
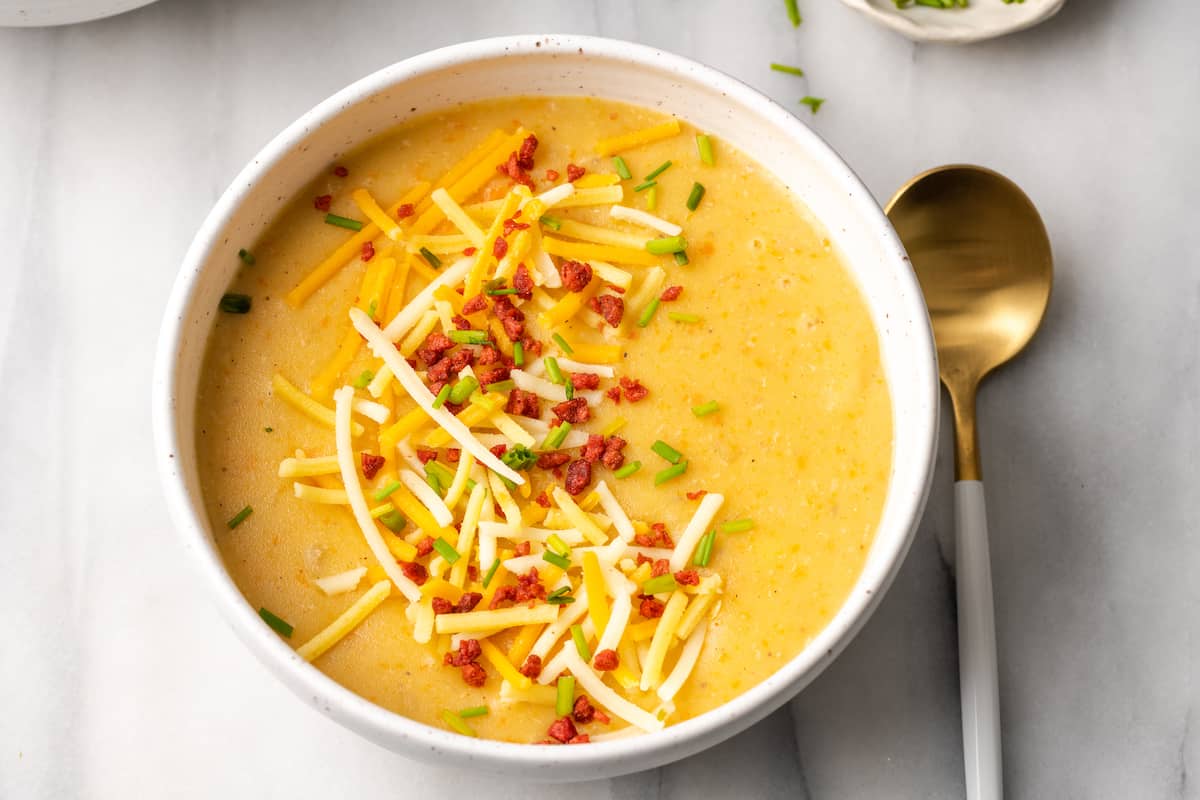
Serve the soup garnished with crispy potatoes, freshly chopped green onions and a sprinkle of black pepper.
Hint: add ½ a cup of vegetable broth to your soup before pressure cooking to prevent burning.
Variations
With a creamy vegan potato soup base, you can spice up this recipe in a number of ways!
- Want it spicy? – add red chili pepper flakes while sautéing the onions to imbue heat into the soup.
- Deluxe toppings – add crispy onions, roasted garlic or croutons for a more luxurious potato soup.
- Change up the herbs! – you can use a variety of fresh herbs in this recipe as well to bump up the flavors. Rosemary, oregano, parsley and fresh dill are all great options! Add a tablespoon of one or two of these herbs if using.
Equipment
We used a 6 quart Instant Pot for this recipe and highly recommend it! It cuts the cooking time in half compared to the stovetop method and all the amazing flavor is locked into the potatoes as they cook.
You can also make this on the stove top if you don’t have a pressure cooker like an Instant Pot. For the stove top, follow all of the instructions in the recipe card until the cooking stage. There you can bring the soup to a simmer after adding the liquids and cover partly with a lid. Allow to simmer for 30 minutes or until the potatoes are tender.

Storage
You can store leftover soup in the refrigerator in an air tight container for up to 3 days. The soup will thicken as it cools so you can reheat and add some more water or vegetable broth to make it easier to mix.
I wouldn’t recommend freezing this soup as potato doesn’t do well in the freezer and will separate.
Top tip
This recipe is delicious on its own but a lot of flavor and texture can be added with your garnishes. I garnished with crispy baked potato pieces, diced green onion and freshly ground black pepper. You can also use the following as great toppings:
- crispy vegan bacon
- shredded vegan cheese
- vegan sour cream
- crumbled crispy tempeh pieces
- fresh herbs like parsley or rosemary
- or all of the above for a decadent bowl of soup!
Nutrition
- Calories: 251kcal
- Carbohydrates: 38g
- Protein: 7g
- Fat: 9g
- Saturated Fat: 1g
- Polyunsaturated Fat: 2g
- Monounsaturated Fat: 5g
- Sodium: 1629mg
- Potassium: 880mg
- Fiber: 5g
- Sugar: 6g
- Vitamin A: 5562IU
- Vitamin C: 32mg
- Calcium: 154mg
- Iron: 2mg
Other resources:
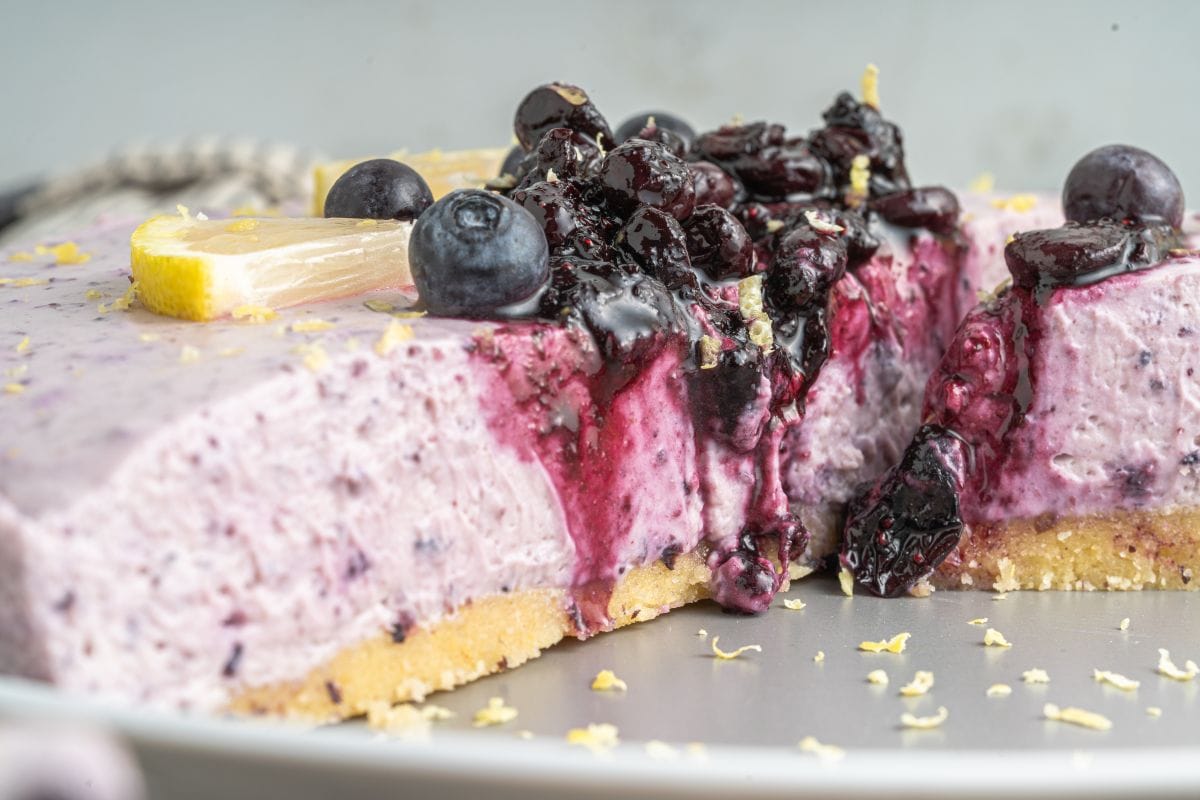
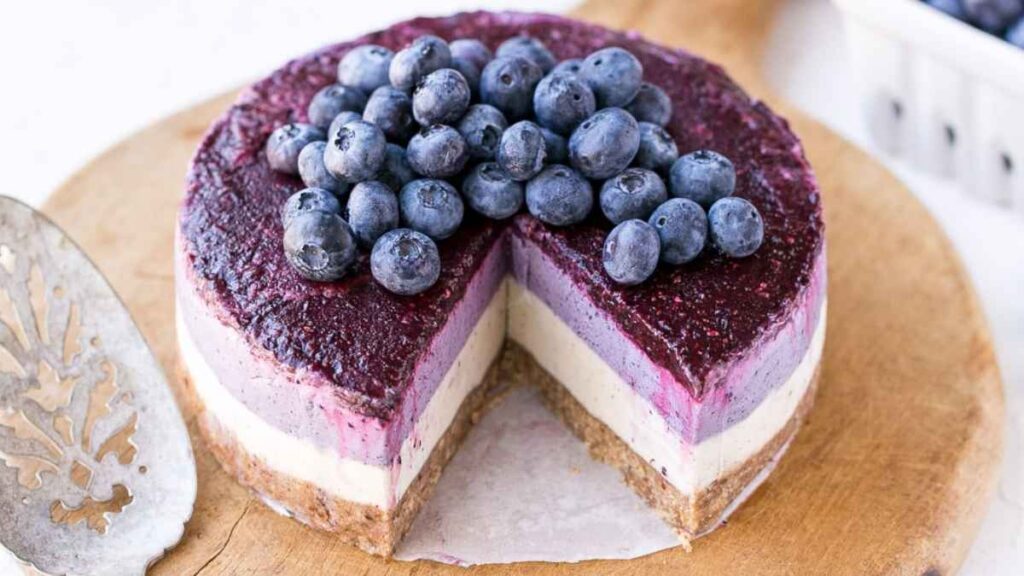
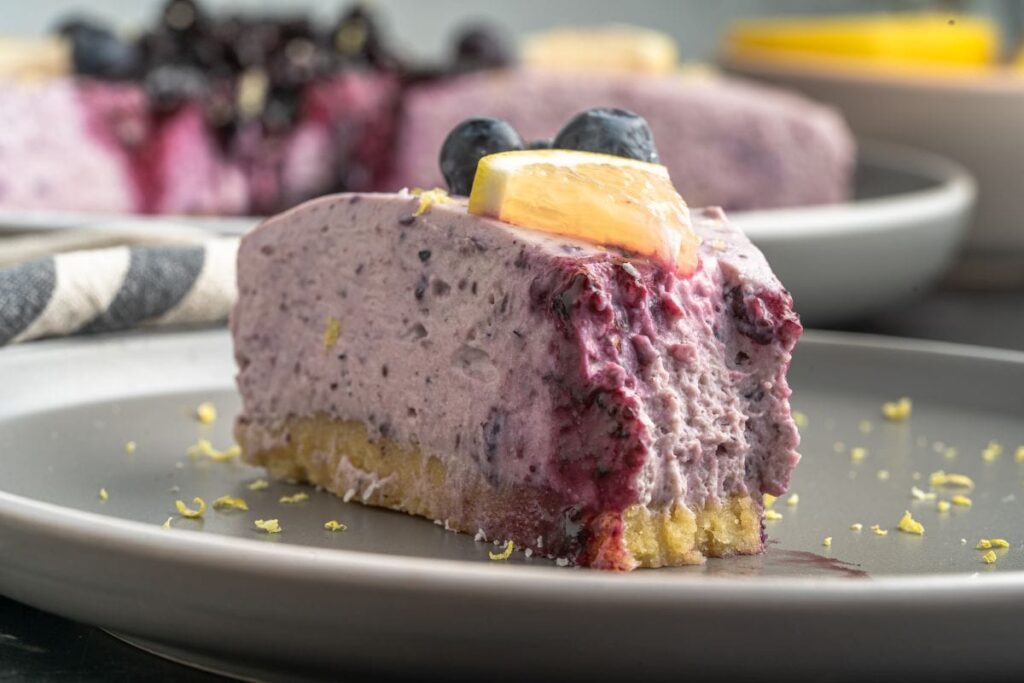
No-Bake Vegan Blueberry Cheesecake
Tree Pruning Services: How Often Should Trees Be Pruned?